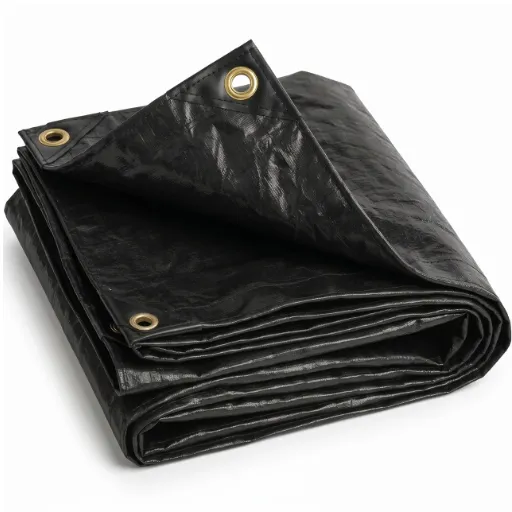
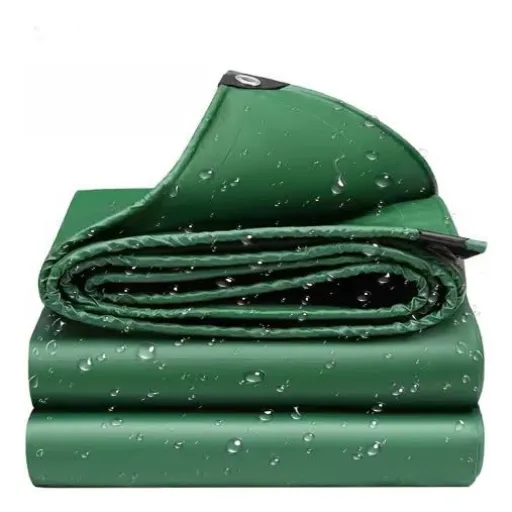
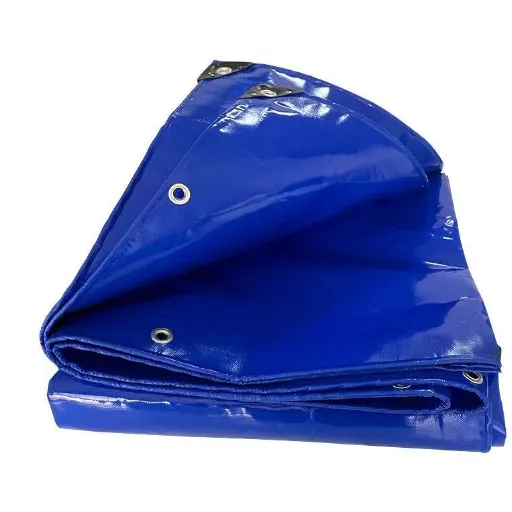
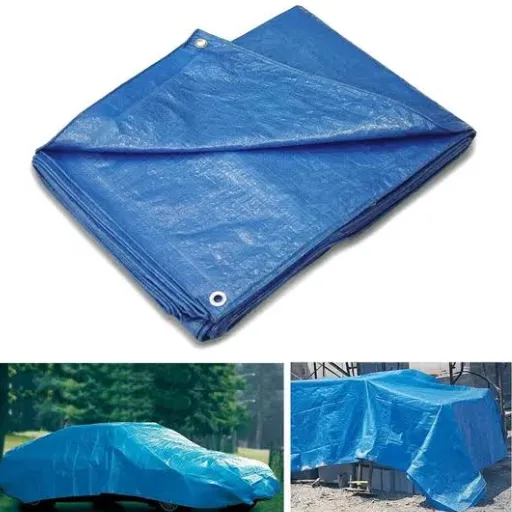
Most camping tarp damage is repairable. For a lasting camping tarp repair, clean and dry the area, then apply a patch with at least 2.5 cm of overlap on every side. Match the adhesive to the fabric: repair tape for polyethylene, vinyl cement for PVC, silicone for silnylon, and stitching plus sealant for canvas.
A tarp rarely fails at a convenient moment. It splits along a fold at 2 am in a downpour, or a grommet tears out when the wind shifts. The advice online assumes a workbench, dry fabric, and the right tape already in your pack.
If that sounds familiar, this guide is for you. Chenlai manufactures both PE and PVC tarpaulins, and whether a repair holds usually comes down to the material, not the technique. You’ll learn how to triage damage in under a minute and fix a tarp well enough to finish the trip. You’ll also see how to make a permanent repair at home, and how to recognize the point where a new tarp costs less than another patch. For the bigger picture on materials, sizing, and pitching, keep our complete guide to tarpaulins for camping open in another tab.
Key Takeaways
- A 2.5 cm overlap on every side, rounded corners, and a 24-hour cure separate a repair that lasts from one that peels in a week.
- PE tarps accept repair tape, PVC wants vinyl cement or heat welding, silnylon accepts only silicone adhesive, and canvas needs stitching plus seam sealant.
- A pulled grommet is a fabric failure, not a hardware failure. Reinforce the material before you set a new grommet.
- Replace the tarp when the fabric cracks instead of folding, when the coating flakes or stays tacky, or when damage covers more than about 20% of the surface.
- A repair kit that weighs 200 g costs less than one replacement tarp and covers the four failures that end most camping trips.
How to Repair a Camping Tarp
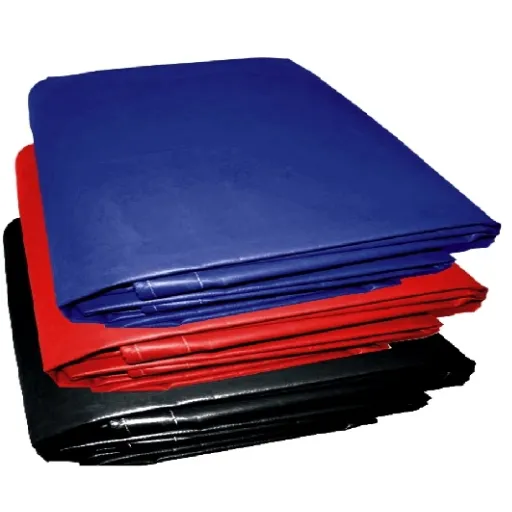
Camping tarp repair comes down to three decisions: fix it now, fix it properly later, or stop fixing it.
A field fix gets you through the night. It uses tape, a clip, or a cord, and it takes under ten minutes. A permanent repair happens at home with a clean surface, the right adhesive for the material, and time to cure. Replacement makes sense when the fabric itself is failing, because a patch on brittle material will outlive neither the trip nor the next wind gust.
Whatever route you choose, “repaired” has to mean two things. The tarp still sheds water across the patched area, and it still carries load at the corners and grommets. A patch that stops a leak but pulls free at the first gust has moved the failure, not fixed it.
That’s why this guide starts with the damage. The same 5 cm tear needs different treatment on a 120 GSM PE tarp, a 650 GSM PVC tarp, and a silnylon shelter.
Assess the Damage Before You Patch Anything
Two questions decide almost every camping tarp repair. Is the fabric still supple? Is the damage in a load path?
Fold a corner of the tarp between your fingers. If it cracks, flakes, or feels stiff like a potato chip, the plastic has lost its plasticizer or its UV stabilizer, and a patch will sit on material that is already failing. If it folds quietly and springs back, the fabric has life left.
Load paths carry tension: the hem, the seam, the reinforced corner, and the 12 mm around each grommet. Damage inside a load path needs reinforcement, not just a patch.
| Damage | Where it is | Method | Time | Expected life |
|---|---|---|---|---|
| Ember hole under 1 cm | Anywhere | Tape patch, both faces | 2 min | Rest of the season |
| Puncture under 2.5 cm | Clear panel | Adhesive patch, 2.5 cm overlap | 10 min | Permanent |
| Tear 2.5–15 cm | Clear panel | Stitch or tape closed, then patch both faces | 20–60 min | Permanent |
| Tear over 15 cm | Anywhere | Replace, or rebuild with a panel | 2+ hours | Case by case |
| Pulled grommet | Corner or hem | Reinforce fabric, then re-set or add a clip | 15 min | 1–3 seasons |
| Split seam | Along a weld or stitch line | Re-seal stitched seams; replace welded seams | 20 min | Varies |
| Brittle or flaking coating | Everywhere | Replace | n/a | n/a |
Dana Whitfield runs a scout troop in Ohio. After the 2024 season she laid 38 A-frame tarps on the meeting-hall floor and sorted them into three piles.
Eleven needed more than tape: four pulled grommets, five split seams, two tears past 30 cm. The troop replaced the two torn tarps, reinforced the four corners with webbing, and patched the rest. Materials came to $84. Buying 11 new tarps would have passed $600.
The same process works for one tarp in five minutes.
Camping Tarp Repair by Fabric Type
Adhesive choice matters more than patch shape. A patch that bonds to PVC will slide off polyethylene, and a patch that bonds to PE will fail on silicone-treated nylon.
| Material | Camping weight | What bonds | What fails |
|---|---|---|---|
| PE | 120–300 GSM | Poly repair tape, acrylic adhesives | Generic glue, PVC cement |
| PVC | 450–900 GSM | Vinyl cement, heat welding, PVC patch | Tape as a permanent fix |
| Silnylon / silpoly | 20–40 GSM coated | Silicone seam sealer, silicone patch | Duct tape, PU tape |
| Canvas / polycotton | 300–600 GSM | Stitching, canvas patch, seam sealant | Adhesive alone |
Polyethylene (PE) Tarps
PE is a low-surface-energy plastic, which is why cheap glue and generic tape struggle to grip it. Camping PE tarps run from about 120 GSM to 300 GSM, and the lighter the fabric, the less adhesive area you have to work with.
Use a tarp repair tape made for poly tarps, press it from the center out, and give it 24 hours before you tension the tarp. Test unfamiliar tape on a clean corner first. If it lifts after an hour, it’ll lift in the rain.
PVC-Coated Tarps
PVC tarps are heavier, from about 450 GSM to 900 GSM, and their seams are heat-welded rather than sewn. That construction changes the repair. A welded seam that splits is a load-path failure, not a surface scratch, and tape will not restore it.
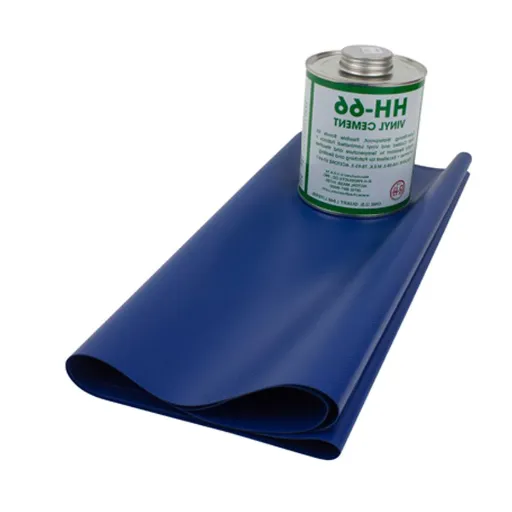
For a hole or tear in the panel, use a matching PVC patch and vinyl cement. Press out air bubbles, weight the patch, and let it cure. Heat welding gives the strongest bond, but it needs a sealing iron and a scrap piece to practice on. Tape is a temporary fix on PVC, not a permanent one.
Silnylon and Silpoly
Silicone-treated fabric rejects almost everything except silicone. Duct tape, PU repair tape, and general-purpose patches will stick for a day and then peel, leaving residue that stops the correct patch from bonding.
Clean the area with isopropyl alcohol, let it dry completely, and use a silicone seam sealer or a silicone patch. Cure takes 8 to 12 hours, so this is a camp-repair task, not a field repair. The video below shows the technique on a sil-poly tent, which uses the same fabric family.
Canvas and Polycotton
Canvas breathes, which means it also absorbs water and needs stitching rather than adhesive. Sew the tear with polyester thread and a heavy needle, then seal the needle holes with seam sealant or fabric glue. A patch alone will lift at the edges as the fabric moves.
Dry wet or mildewed canvas first. Sealant won’t bond to damp fibers, and trapped moisture turns into rot.
If you’re weighing materials for a replacement rather than a repair, our PE vs PVC tarpaulin comparison covers cost, weight, and service life side by side.
How to Patch a Tarp So It Holds
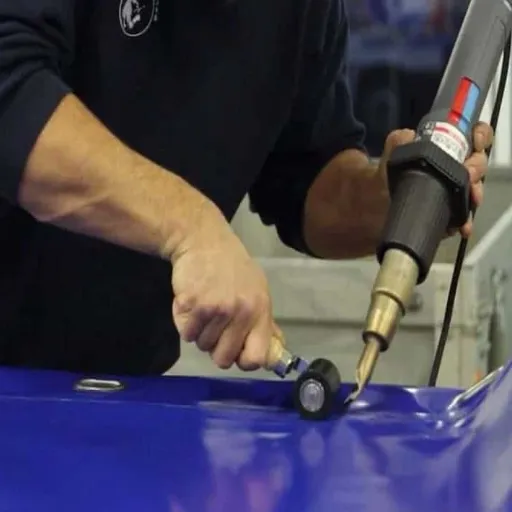
The method is the same across materials. However, the adhesive changes.
- Clean the area. Wipe with isopropyl alcohol or mild soap and water. Dirt and sunscreen are the top cause of patch failure.
- Dry it completely. A patch on damp fabric traps moisture and lifts within days.
- Trim the damage. Cut away loose fibers and frayed edges so the patch sits flat.
- Cut the patch. Give yourself at least 2.5 cm of overlap on every side, and round the corners with scissors. Square corners catch on gear and peel.
- Apply and press. Work from the center outward to push out air bubbles. For a through-tear, patch both faces.
- Cure before tensioning. Wait 24 hours for adhesive patches, 8 to 12 hours for silicone. Re-pitch the tarp only after the cure.
How to Fix a Hole in a Tarp Without Sewing
Most holes under 15 cm do not need a needle. A tape patch on both faces handles punctures, ember holes, and short tears in PE and PVC. Clean, dry, overlap, round the corners, and press.
Skip the sewing step only when the fabric around the hole is sound. If the edges pull apart when you tug them, the tear will keep growing under a patch, and stitching is the faster route to a repair that lasts.
Camping Tarp Repair in the Field: Getting Through the Night
Field repair is a different discipline: minutes, not hours, and wet fabric.
Tape on both faces. Two layers sandwich the fabric and resist peeling far better than one. Dry the area with a cloth as best you can, apply, and press hard.
Pebble and cord. For a tear at the edge, push a smooth pebble into the fabric behind the tear, gather the material around it, and tie a clove hitch or constrictor knot with paracord. The pebble spreads the load across intact fabric. It’s the oldest field fix in the book, and it works where tape won’t.
Ember holes. A spark from a campfire leaves a pinhole that grows under tension. A 2 cm tape patch on both faces stops it in under a minute.
Avoid duct tape on silnylon, and avoid heat near the shelter. A stove used to “weld” a patch turns a small repair into a large one.
Marcus Reed bought a silnylon tarp for a Colorado trip in 2023. On the second night, wind pushed a pole tip through the fabric. He covered the hole with duct tape, which held until the morning sun hit it.
By noon the adhesive had softened and the tape slid off, leaving a sticky ring that the correct patch wouldn’t stick to. He cleaned the residue with isopropyl alcohol, let the fabric dry, and applied a silicone patch that evening. That patch is still on the tarp.
Grommets, Corners, and Seams
A grommet does not pull out because the grommet is weak. It pulls out because the fabric around it has stretched, torn, or lost strength to UV. Setting a bigger grommet there gives the wind a larger hole to work on.
Tarp grommet repair that lasts rebuilds the fabric first. Cut away the torn section, sew or glue in a reinforcement patch, and make sure the new grommet passes through at least three layers of material. Keep it at least 12 mm from the edge. Sailrite’s canvas repair guide for snaps and grommets covers the layering rule in detail.
In the field, skip the grommet entirely. A tarp clip or a pebble-and-cord tie moves the load onto intact fabric and gets you through the trip.
For stitched seams, thread rot and enlarged needle holes are the usual failures, so re-seal and let it cure. A split along a PVC weld is structural: patch it with vinyl cement if it’s short, and replace the tarp if the weld is opening along its length.
If you need the full installation procedure, our guide to installing and replacing tarp grommets walks through tools, hole cutting, and setting. For tarps that fail at the corners repeatedly, tarpaulins with reinforced grommets solve the cause rather than the symptom.
When Camping Tarp Repair Stops Making Sense
Repair is the cheaper choice until it isn’t. Four signals mean stop.
- The fabric cracks when you fold it. UV degradation has broken the polymer chains, and a patch will not restore strength next to it.
- The coating flakes or stays tacky. The waterproof layer is gone, so the patch fixes a hole in a tarp that still leaks.
- Damage covers more than about 20% of the surface. Past that point you are rebuilding the tarp one patch at a time.
- The failure is in a load path and the fabric around it is soft. Corners, hems, and grommet zones carry the wind load.
A tarp that fails one of these tests will be back next season. Our heavy-duty camping tarpaulins are built with reinforced corners and closer grommet spacing. If your tarp keeps failing at the same corner, the problem is the specification, not your technique.
Build a Camping Tarp Repair Kit
A kit for the four common failures weighs about 200 g and fits in a fist-sized sack.
| Item | Fixes | Weight | Cost |
|---|---|---|---|
| Tarp repair tape, 5 cm × 2 m | Punctures, ember holes, short tears | 40 g | $6–10 |
| Two pre-cut patches, 10 × 10 cm | Through-tears, both faces | 20 g | $4–8 |
| Silicone seam sealer, 30 g tube | Silnylon holes, stitched seams | 40 g | $8–12 |
| Two tarp clips | Pulled grommets, torn corners | 30 g | $5–8 |
| 3 m paracord | Pebble tie, ridgeline repair | 25 g | $3 |
| Isopropyl alcohol wipes | Surface prep | 10 g | $2 |
| Small scissors or knife | Trimming, cutting patches | 35 g | n/a |
The tape and patches should match your tarp material: PE tape for PE, silicone for silnylon. One universal roll is how campers end up with a kit that can’t fix their own tarp. If you’d rather buy a kit than build one, Gear Aid’s camp repair kit bundles tape, seam sealer, and patches in one tin.
For groups, the math changes. Priya Raman manages a 220-bed summer camp in Ontario.
Her maintenance team used to inspect tarps in June and discover failures in July. In 2025 they moved inspection to the week before staff training and set up a repair table with matching PE tape, a grommet press, and 40 pre-cut patches. Fourteen tarps came out of service in May instead of failing mid-season, and the camp bought nine replacements in one order instead of paying for emergency shipping three times.
Batch inspection works because failures cluster. Tarps from one production run, stored the same way and pitched on the same field, fail in the same season. Chenlai’s incoming inspection checklist is written for buyers receiving a shipment, and the same checks apply when you audit a fleet before camp opens.
Frequently Asked Questions
Can you repair a torn camping tarp? Yes, in most cases. Holes and tears under about 15 cm in sound fabric can be patched or stitched. Replace it if the fabric is brittle, the coating flakes, or the tear crosses a welded seam.
What is the best tape for a camping tarp? A tape made for the tarp’s material. PE takes poly repair tape, PVC takes vinyl tape as a temporary fix, and silnylon needs a silicone patch. For a deeper comparison, see tarp tape vs Gorilla tape.
Can you use duct tape on a tarp? As a temporary field fix, yes. Duct tape is not UV-stable, and its adhesive softens in sun and peels in rain. On silnylon it leaves residue that prevents a proper patch from bonding.
How do you repair a silnylon tarp? Clean with isopropyl alcohol, let it dry, and apply a silicone seam sealer or silicone patch. Silicone is the only adhesive that bonds to silicone-treated fabric. Allow 8 to 12 hours to cure.
How do you fix a pulled-out grommet? Reinforce the fabric first, then set a new grommet through at least three layers, at least 12 mm from the edge. In the field, use a tarp clip or a pebble-and-cord tie instead.
Is camping tarp repair worth it, or should I replace the tarp? Repair if the fabric is supple and damage covers under about 20% of the surface. Replace if the material cracks when folded, the coating fails, or a load path is damaged.
The Repair Decision That Saves the Trip
Camping tarp repair is mostly about three habits. Check the fabric before you patch it, match the adhesive to the material, and give the repair time to cure.
Those habits cover the failures that end trips: ember holes, pole-tip punctures, pulled grommets, and split seams. They also tell you when to stop. A brittle tarp with a fresh patch is still a brittle tarp.
If camping tarp repair has become a seasonal chore because your tarp keeps failing at the corners, or you need a batch for a camp, a scout troop, or an outfitter, send our team your specifications. We’ll help you match the GSM, coating, and grommet spacing to how the tarp will actually be used.